Overview of Computing Homography and Warping the Image
In project 4, we were tasked by manipulating images by using its homography and to using that to warp the image to get the information we need.
Image Rectification
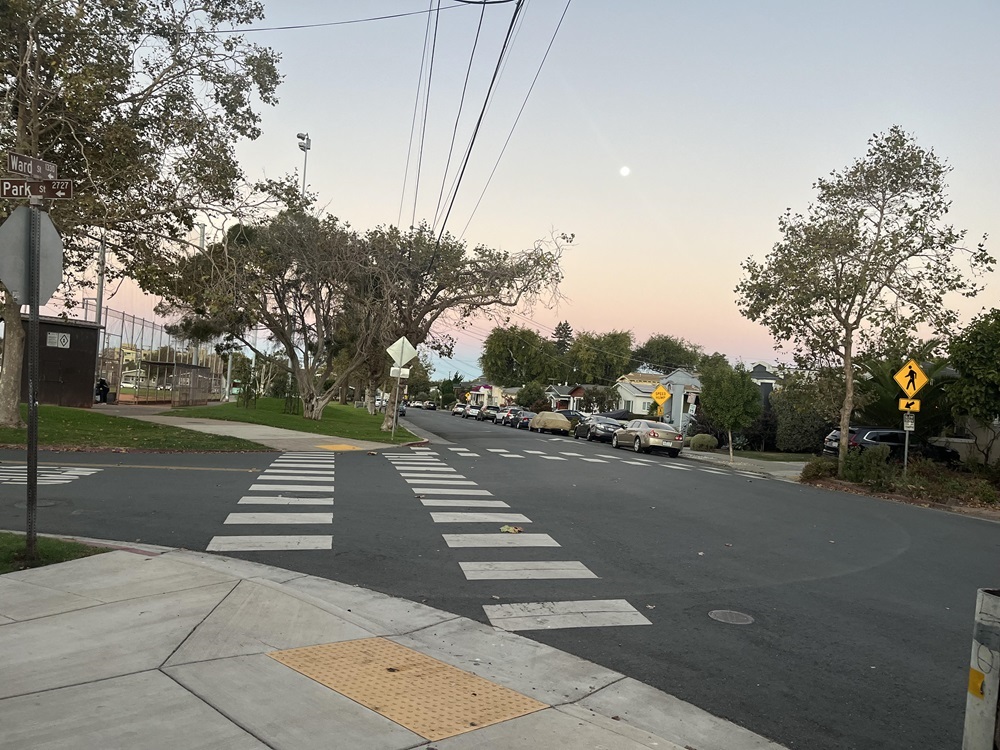
Once we have a function that computes the homography based on 2 sets of points and and another function that can warp the image based on the given homography, we have all the tools we need to rectify a part of the image. We first select points; the first set of points are the corners of the object that is being rectified and the second set of points are simply the dimentions that the image is being warped onto.
|
|
|
|
Blend the Images into a Mosaic
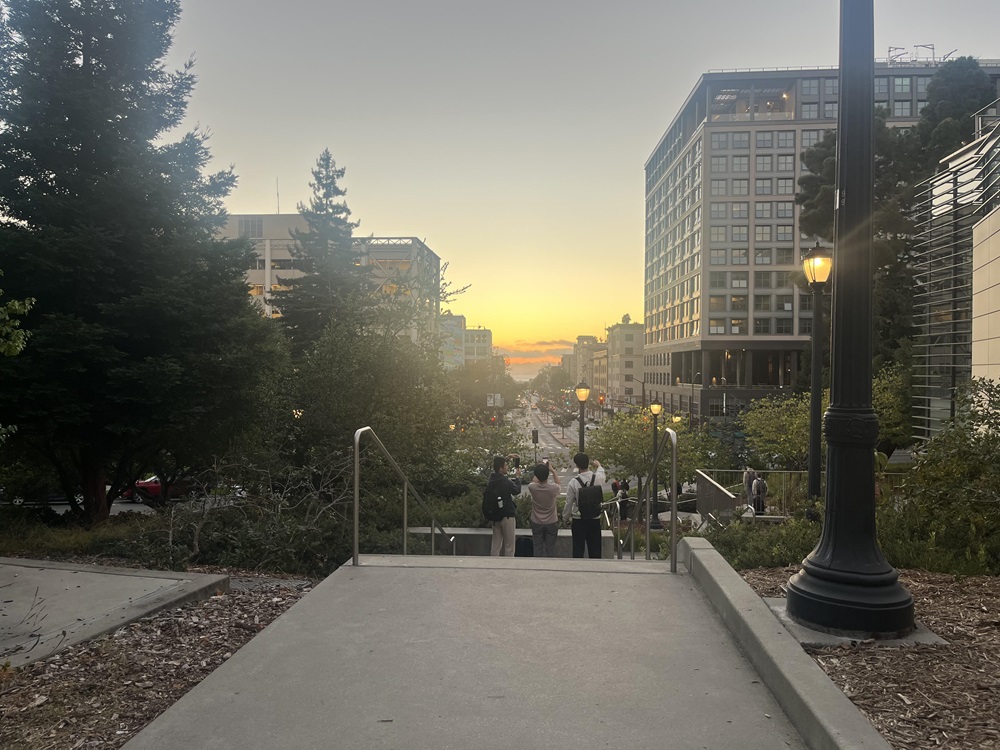
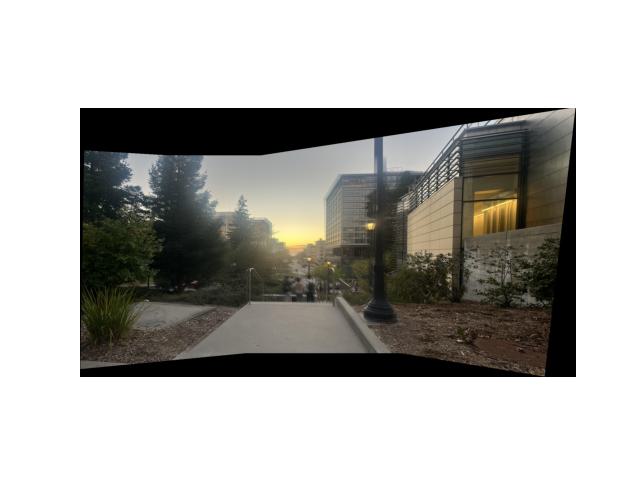
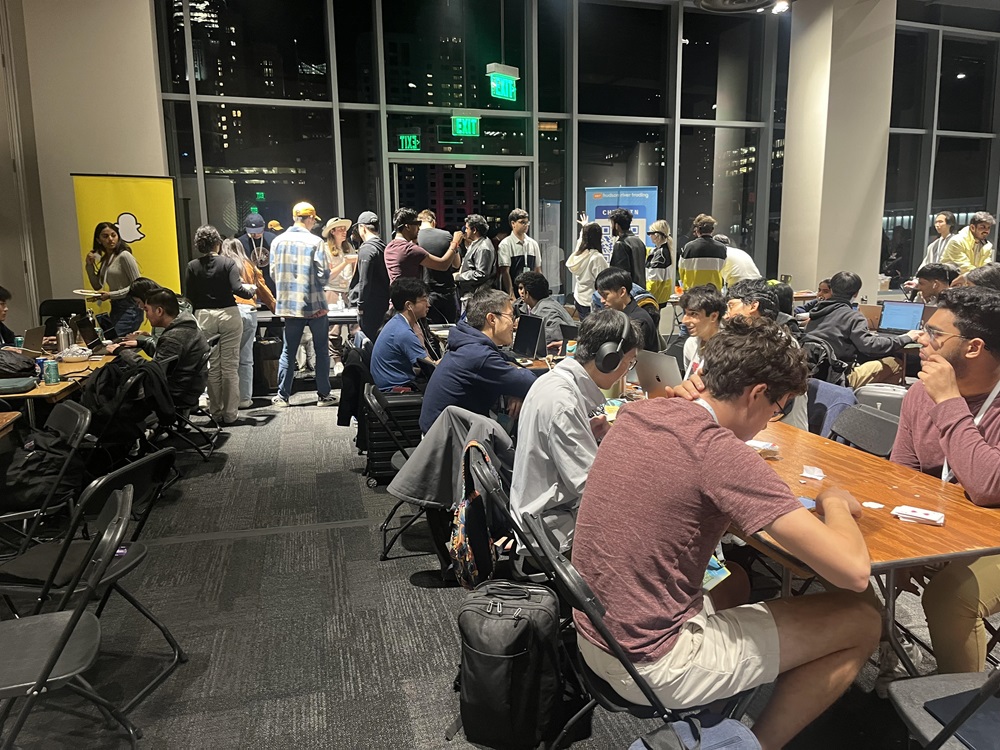
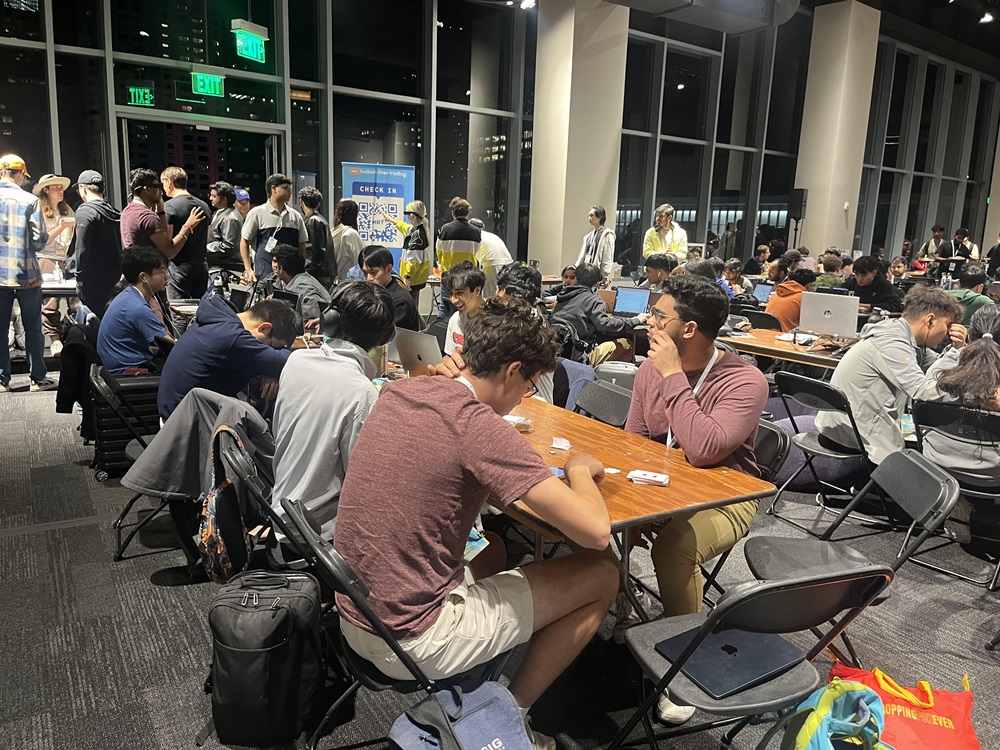
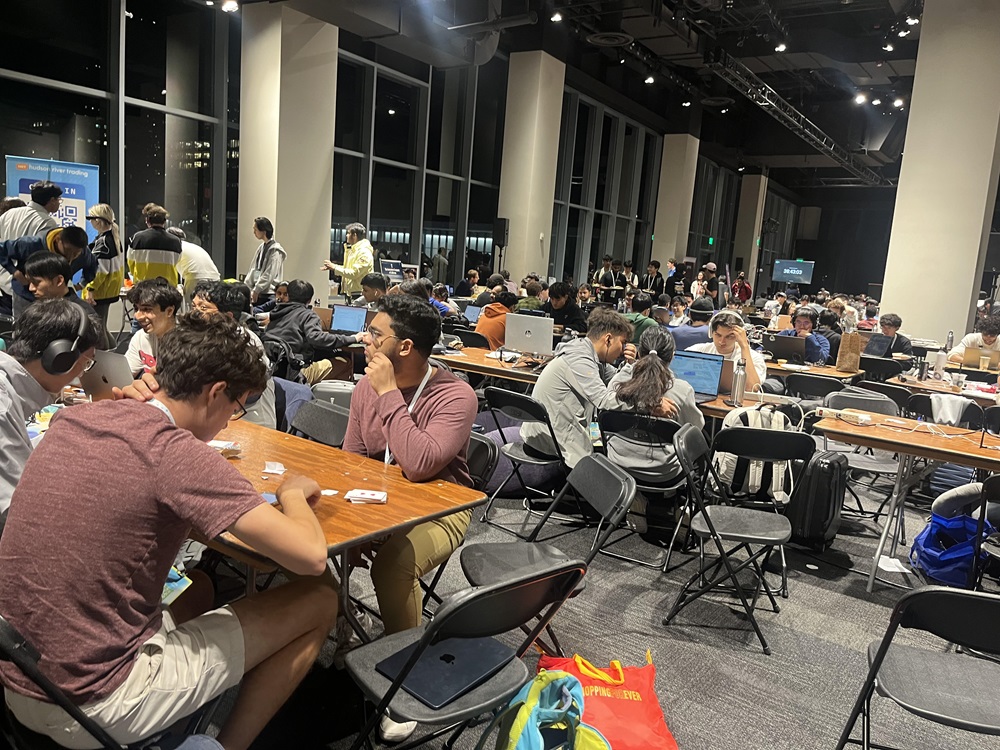
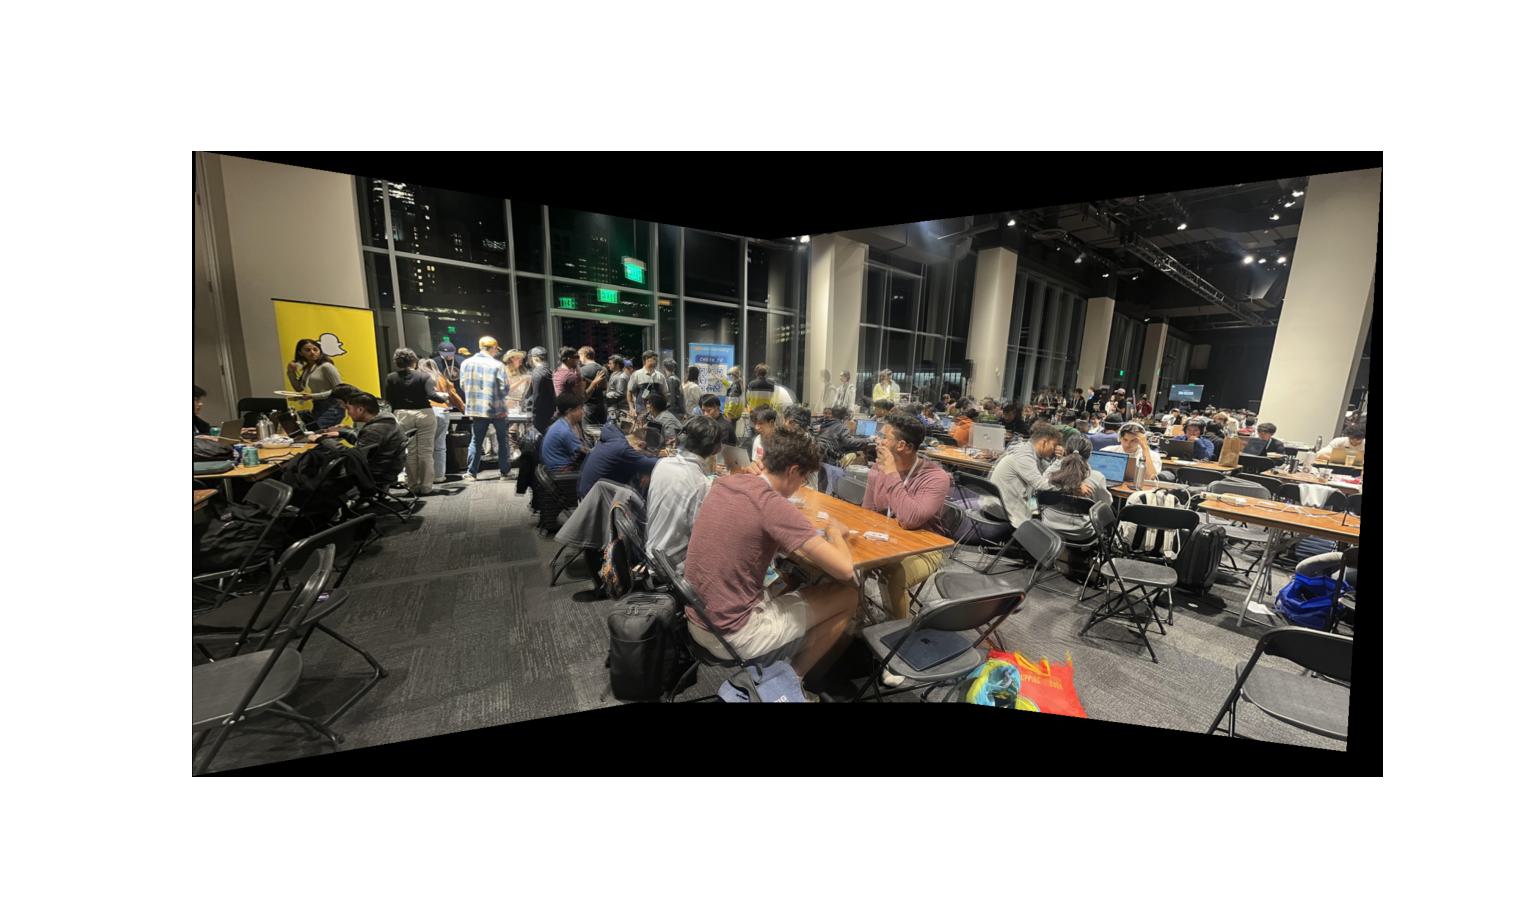
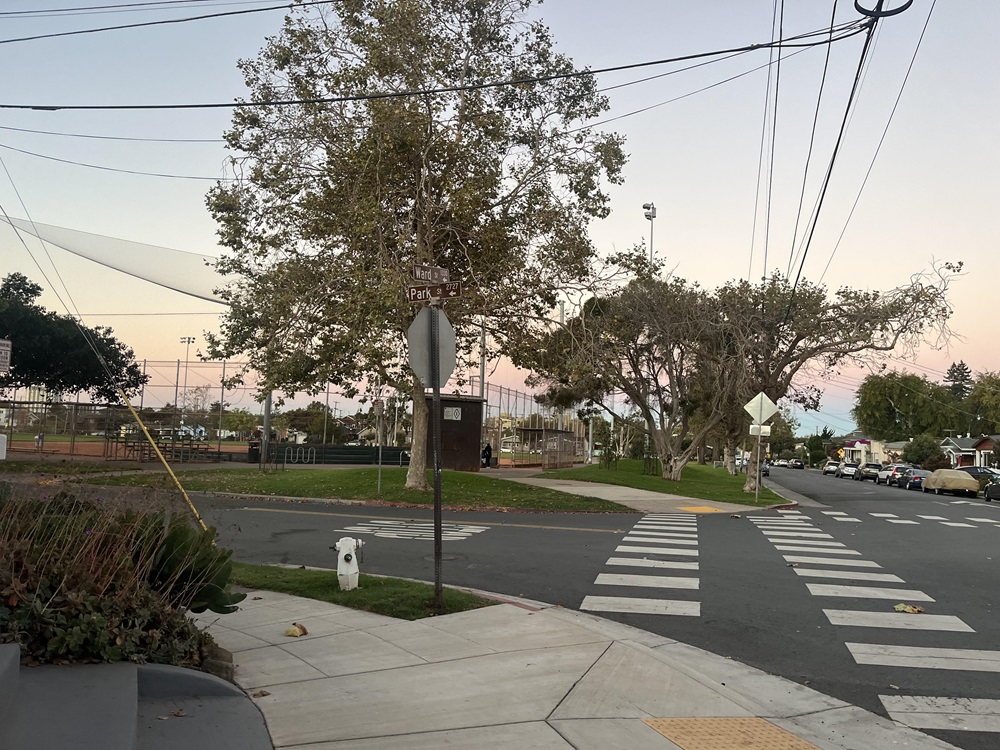
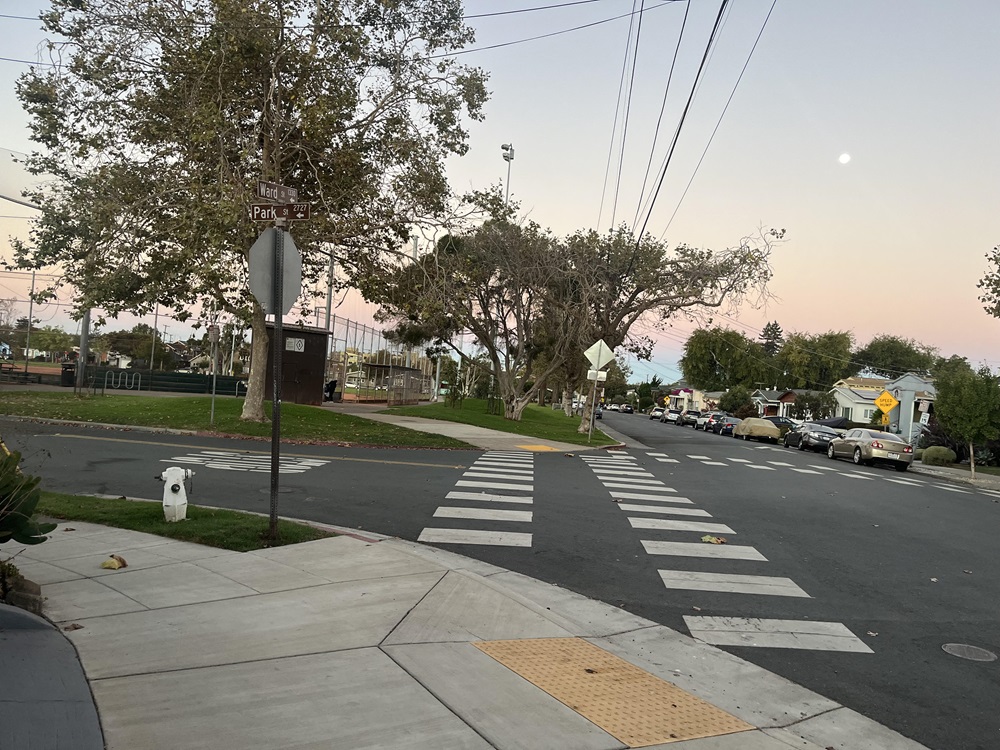
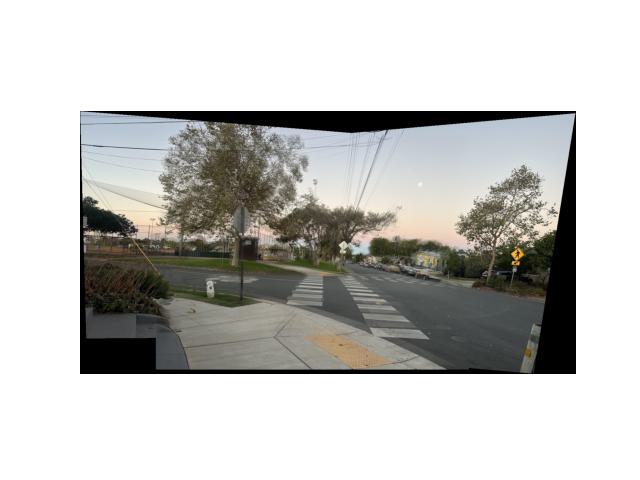
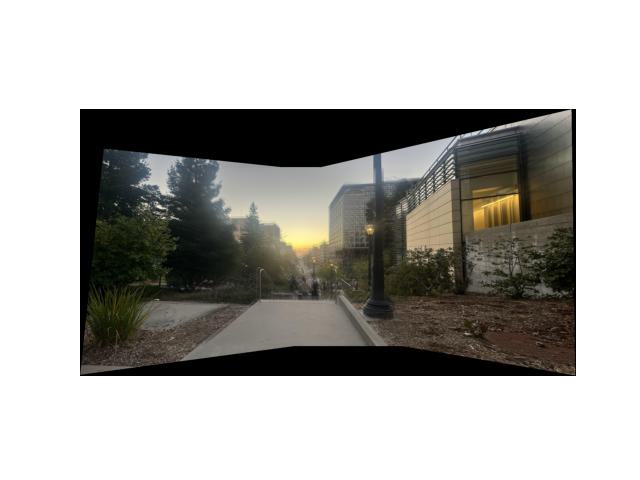
Instead of warping into set of points that are dimentions, we will be warping the images into eachother. I selected the middle image to be reference image and warped the surrounding images into to it. Then, I stiched the images together but this created strong edge artifacts. To combat that, I computed the weighted average based on the distance transform. However, this still creates blurry artifacts due to the lighting in some images. In the next step, I plan to use Laplacian pyramids to smooth it out.
The Gallery
 |
 |
 |
 |
||
 |
 |
 |
 |
||
 |
 |
 |
 |
||
Project 4: Part B
Feature Matching for Autostitching
Overview
In project 4B, we got to use algorithims like Harris Corner and ANMS to find features in the images and then matched those features to ultimately create a process to automatically stitch the images together.
Harris Interest Point Detector
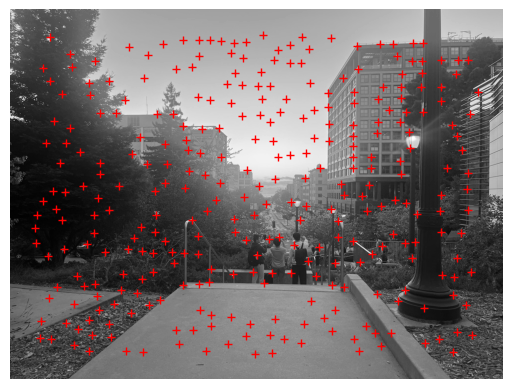
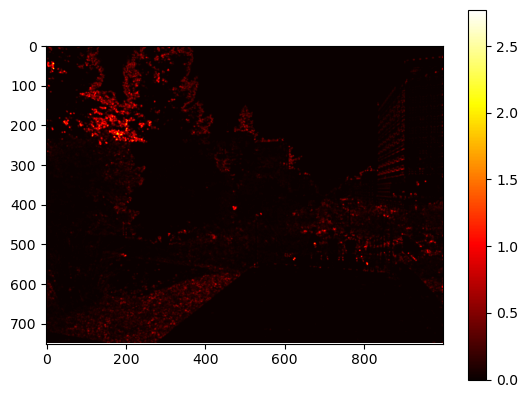
To start, I took an image and passed it into the given function for Harris Corner Detection. This gave me the following images:
|
|
Adaptive Non-Maximal Suppression
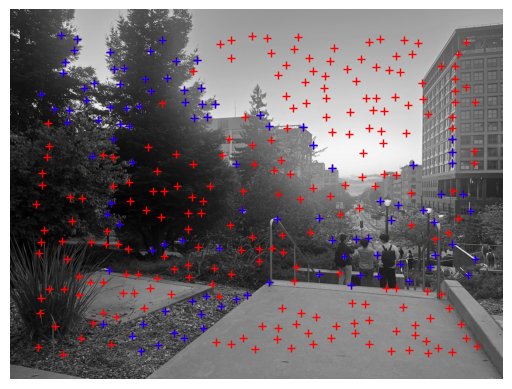
Now that I have a starting point, I can start with the points detected via harris corners and pass them into ANMS. ANMS basically sorts all the points in descending order of the strength of the harris corner and loops through top chosen number of chosen points to and calculate the distance between points. The minimum value is stored in the array and that produces a more precise result from the harris corners
|
Feature Descriptor Extraction
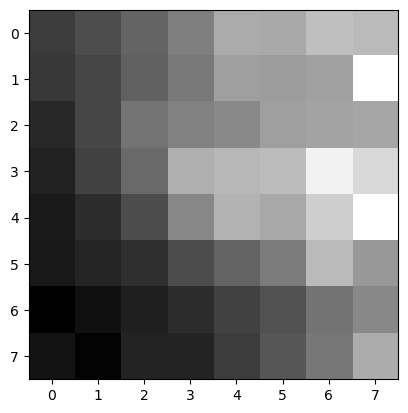
From that corners around the points detected in ANMA, we can generate a feature patches that will give what we will call feature descriptors.
|
Feature Matching
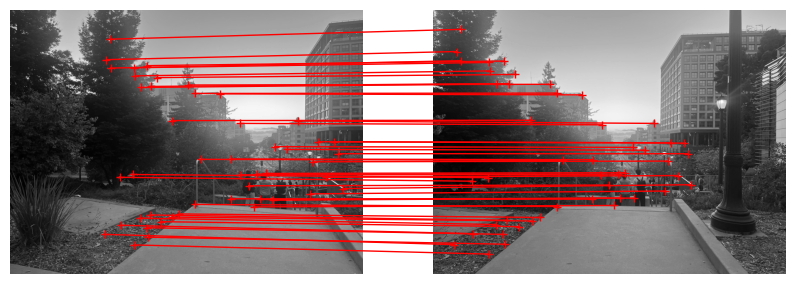
Now we can use the feature descriptors and nearest neighbors algorithmto match them. This algorithim consists of finding all the distances between the descriptors and then sorting the distances in ascending order and then finding the 2 nearest neighbor. The ratio of the nearest neighbor is compared against a threshold and if it is less it will be considered a good match and the points will be considered corresponsing points.
|
RANSAC
Finally, we can use RANSAC to further refine the matching process. To do this, I first selected 4 random points since this is 4-point RANSAC and computed the homography of those points. Then, I used that to determine the inliers - which are the points with distances less than the threshold. This process was repeated serveral times to get the most inliers

|
The Gallery
 |
 |
 |
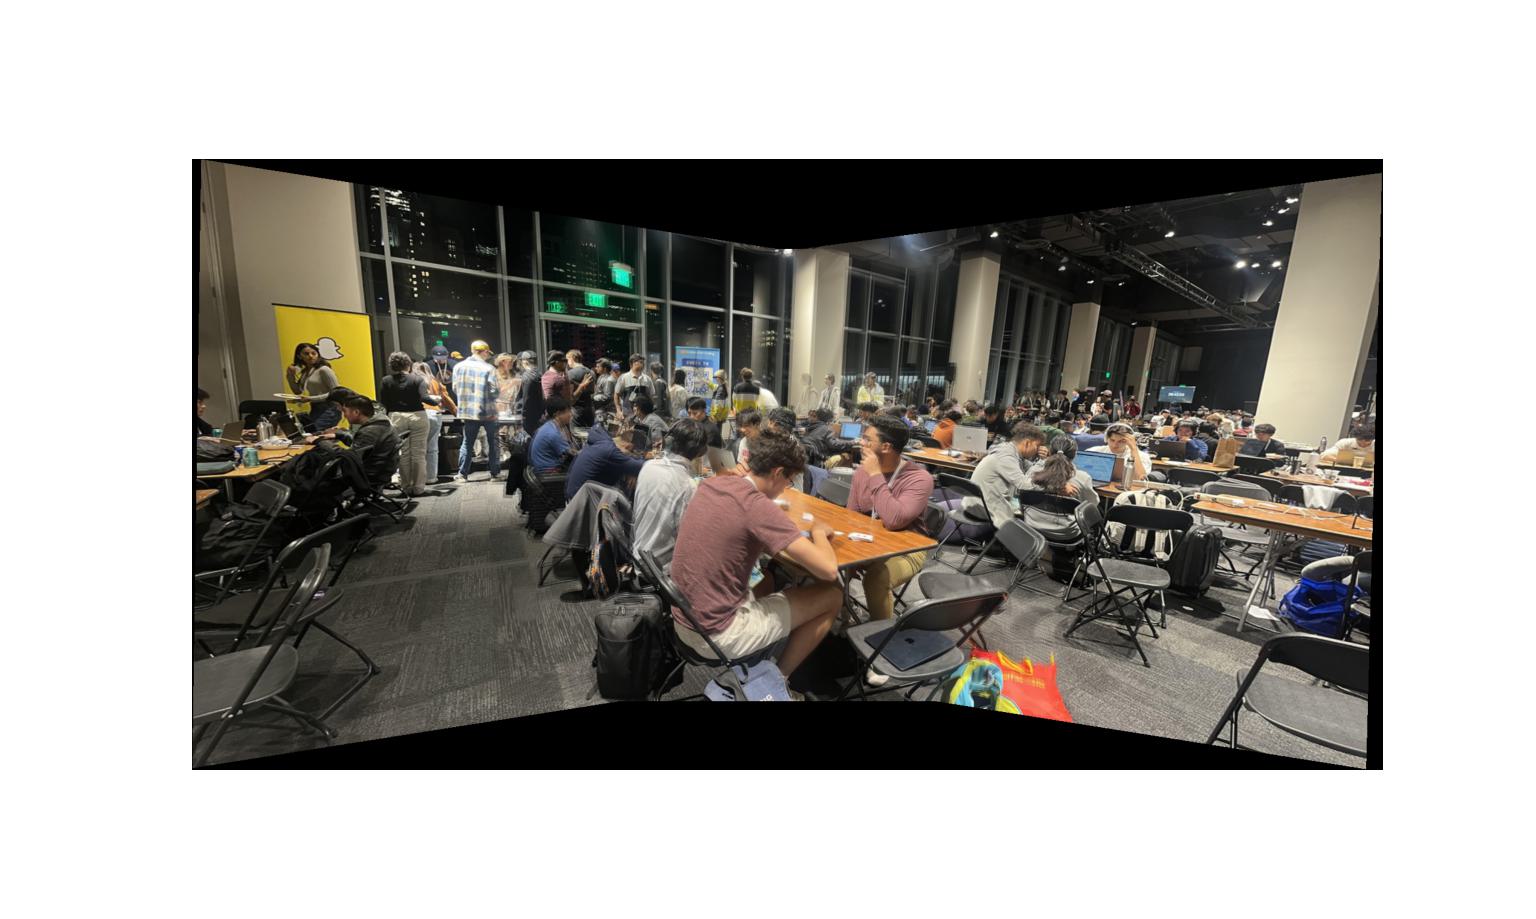 |
 |
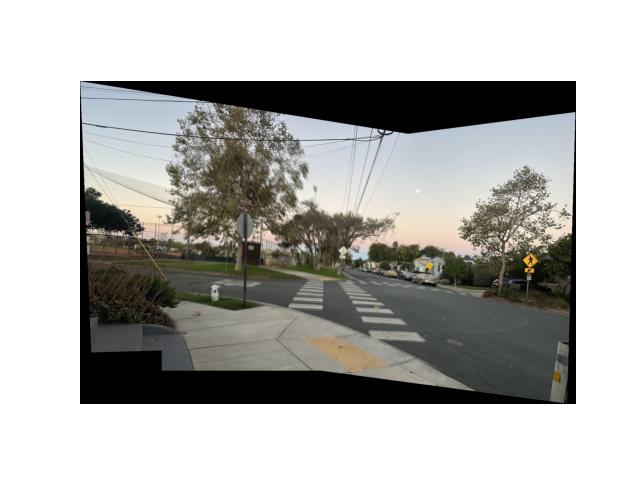 |