Overview of Diffusion
In project 5, we were able to explore the power of diffusion models and how we can manipulate a sequence of noisy images to generate new images.
Sampling From the Model
In this project, we were given 2 objects that already allow us to sample images from the models and by giving it one of the predefined prompt, we can generate images that match the caption. The random seed I used was 180. Below is an example of images the model generated with the prompt as the caption and the number of inference steps it took to generate it. The quality of the images at interference step 200 is better than at 20. This is shown through the attention to details in the bckgrounds and added dimentions in the images. We can also see that the man with the hat goes from black and white to an a colored image showing that higher number of iterations also can generate colors.
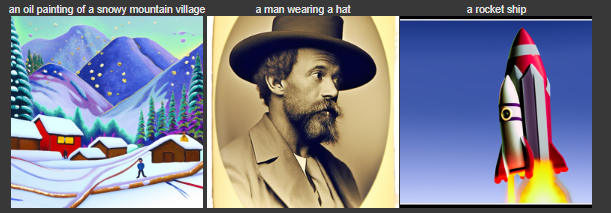
|
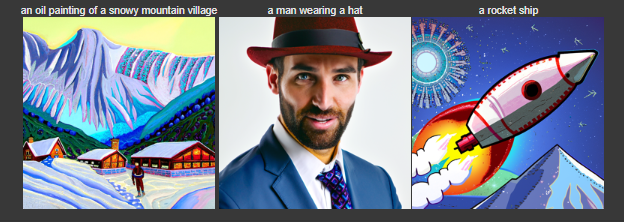
|
Implementing the Forward Process
The first part of tackling diffusion models is implementing the forward process. This is the process that takes clean image and add noise based the mean and variance of the corresponding noise coefficients.

|
Classical Denoising
In our first attempt in denoising the images, we are going to try using gaussian blur to remove the noise

|
One Step Denoising
Now we are going to put it all together. The noisy image is passed through the UNet denoiser, which predicts the noise that was added to it. Then the predicted noise is added to the original image which creates the denoised image.
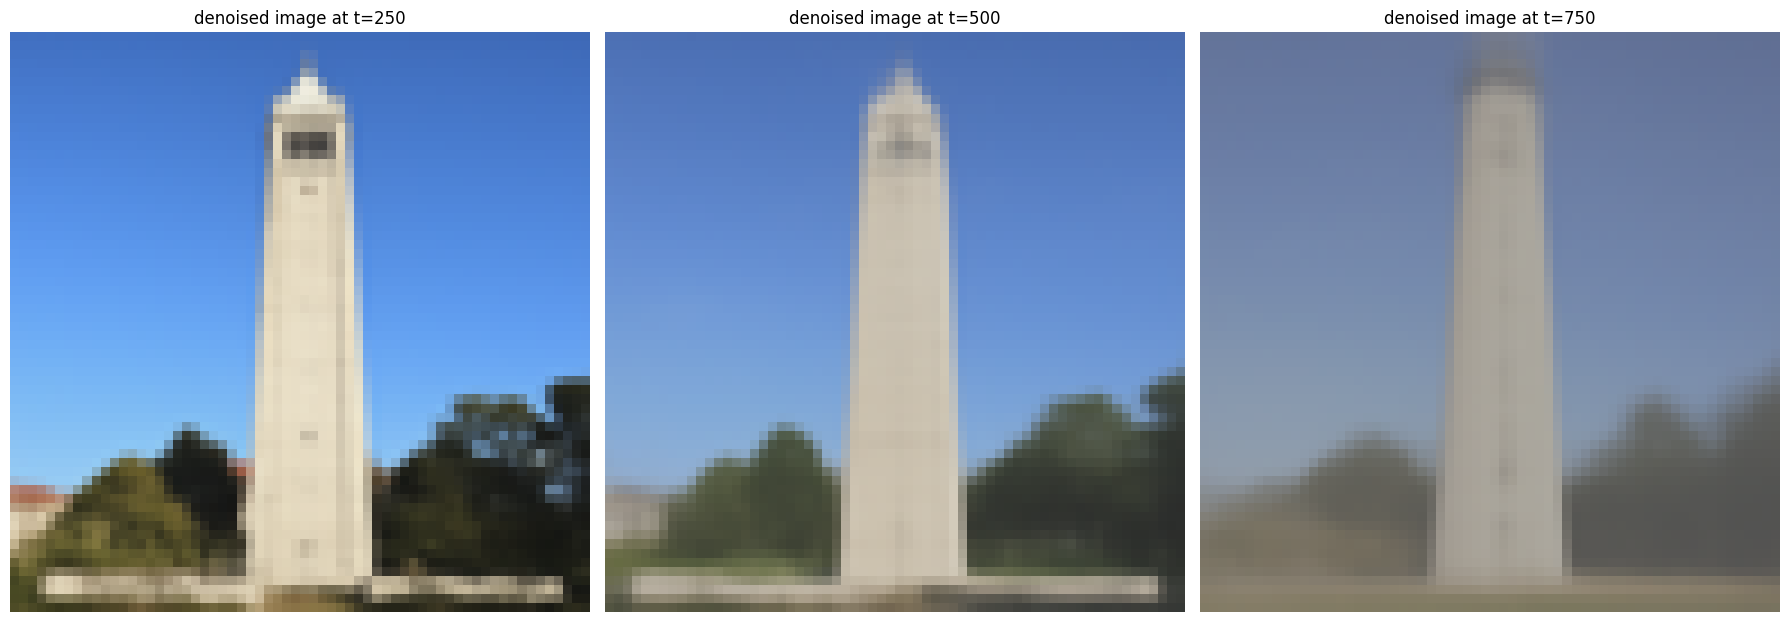
|
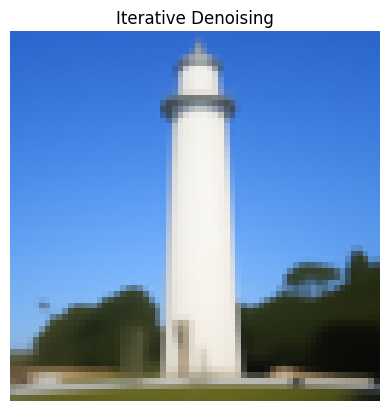
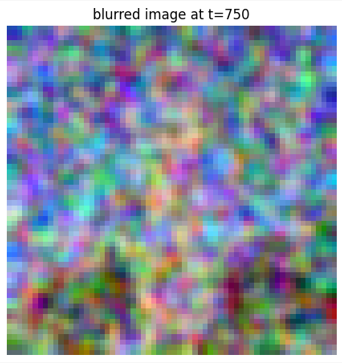
Iterative Denoising
With one step denosing we are able to get a pretty good denoised image. However, we can still improve the quality of the image by iterating the process.

|
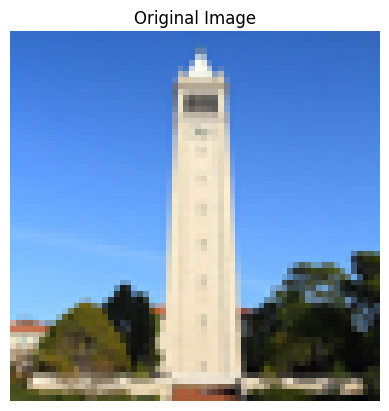

|
Diffusion Model Sampling
We can use iterative denoising to also generate images from scratch.

|
Classifier Free Guidance
To improve the quality of the image, we can also use classifier free guidance.

|
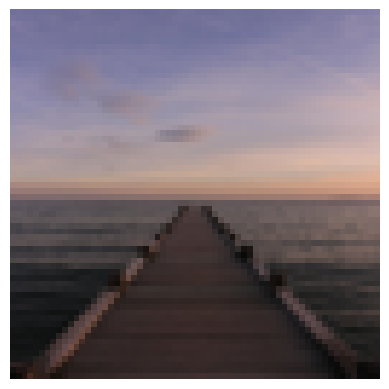
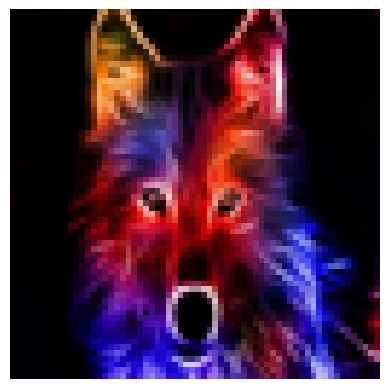
Image-to-image Translation


|

|

|
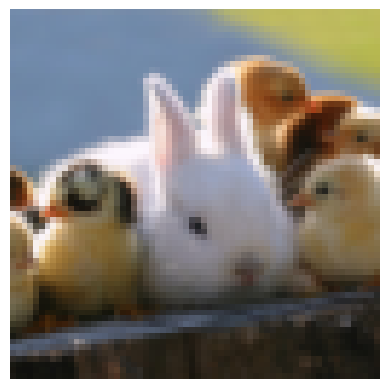
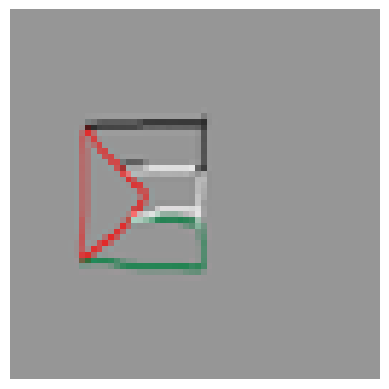
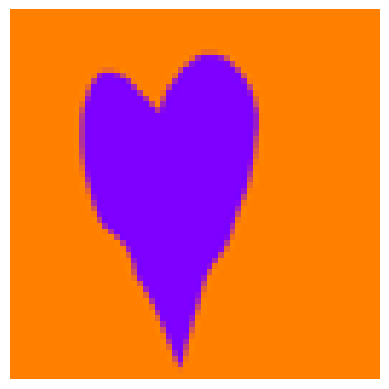
Editing Hand-Drawn and Web Images

|
|

|
|

|
|
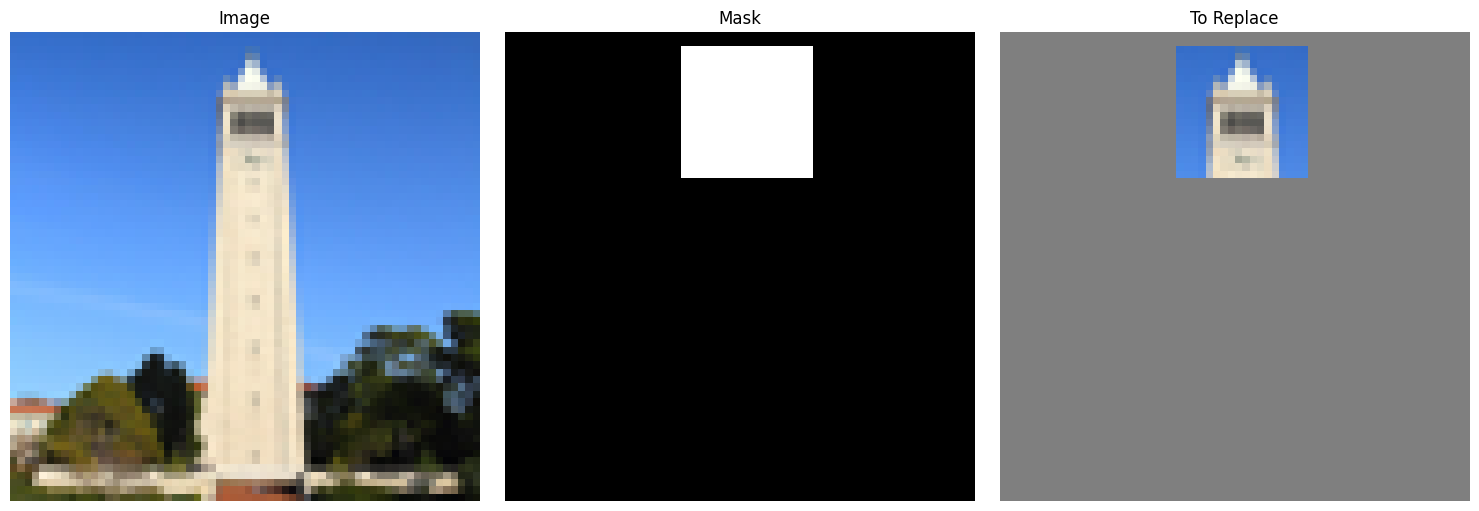
Inpainting
|
|
|
|
|
|
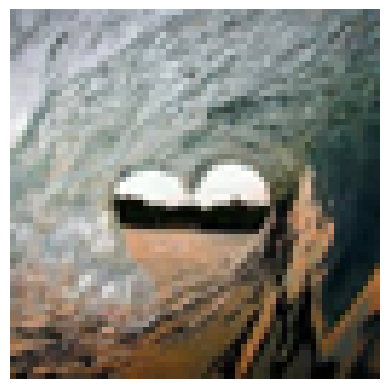
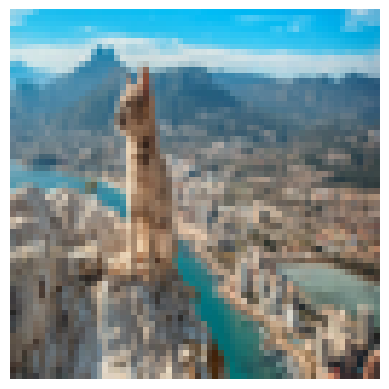
Text-Conditioned Image-to-image Translation


|

|

|
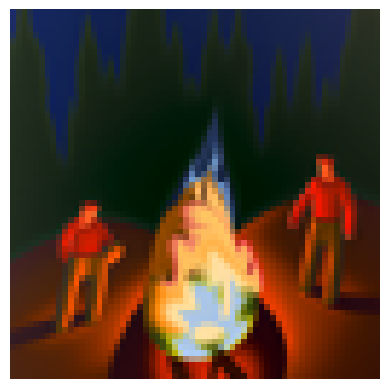
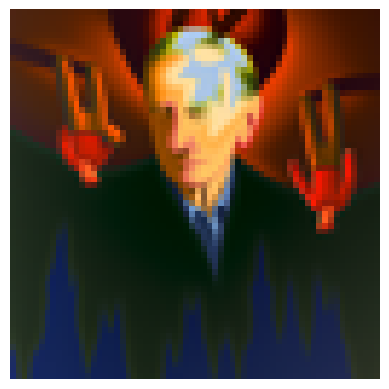
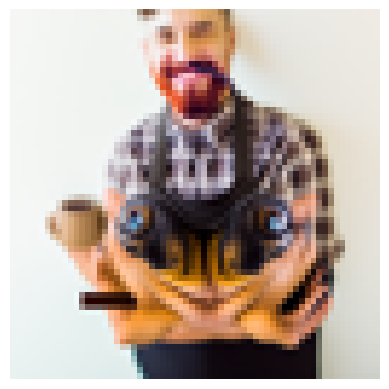
Visual Anagrams
|

|
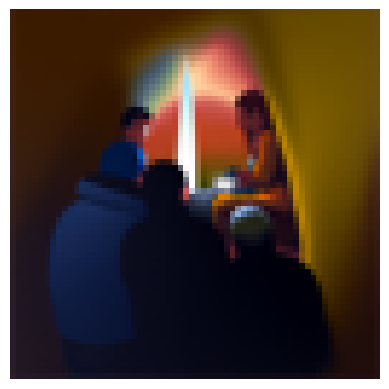
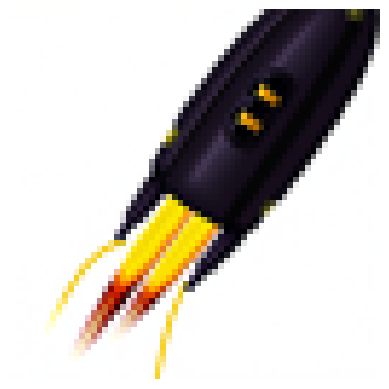
Hybrid Images
|
|

|
Project 5: Part B
Diffusion Models from Scratch!
Overview
In this part of the project, we stepped through the process of creating a diffusion model from scratch.
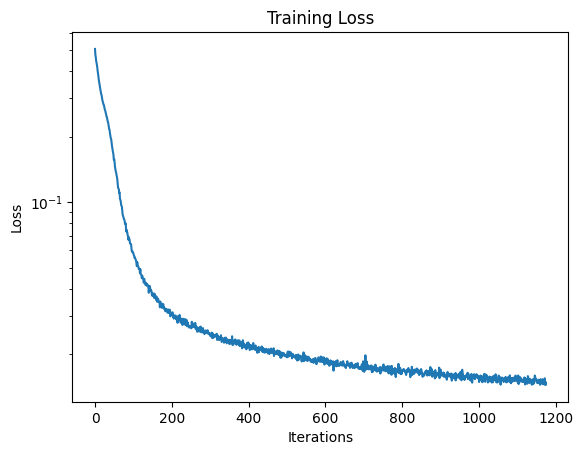
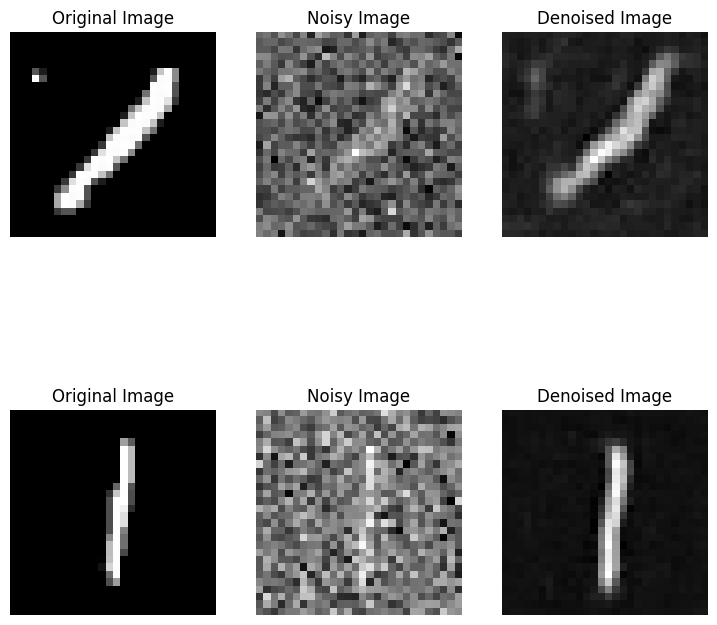
Training a Single-Step Denoising UNet

|
|
|

|
Training a Diffusion Model
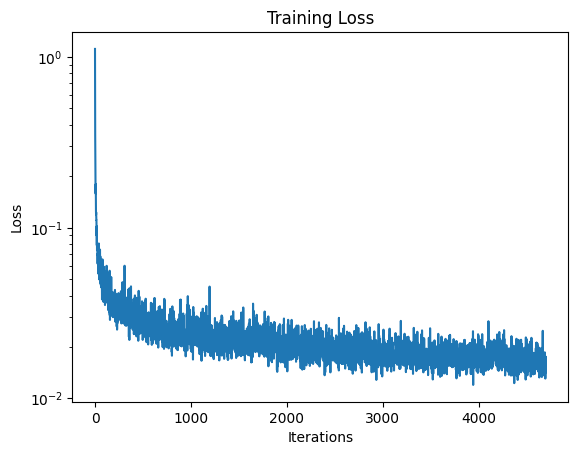
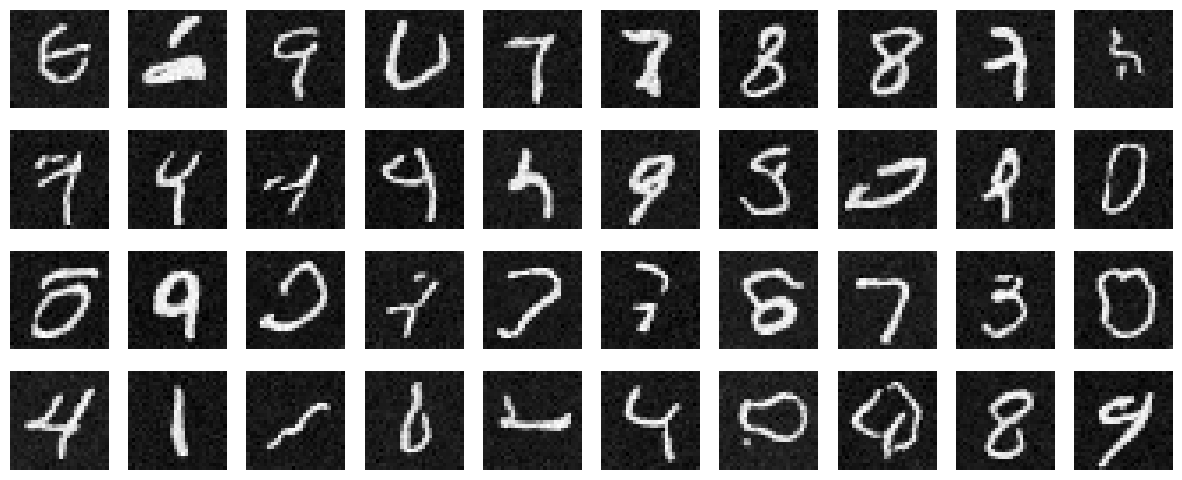
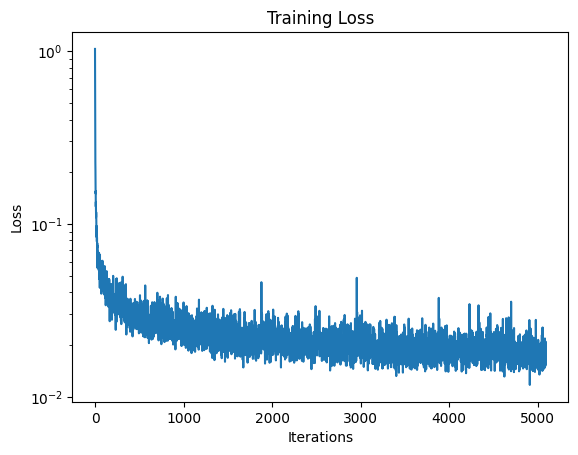
At this point, we can train UNet model to iteratively denoise image using FCblocks and training our data using Algorithm 1 from the paper.
|

|
|
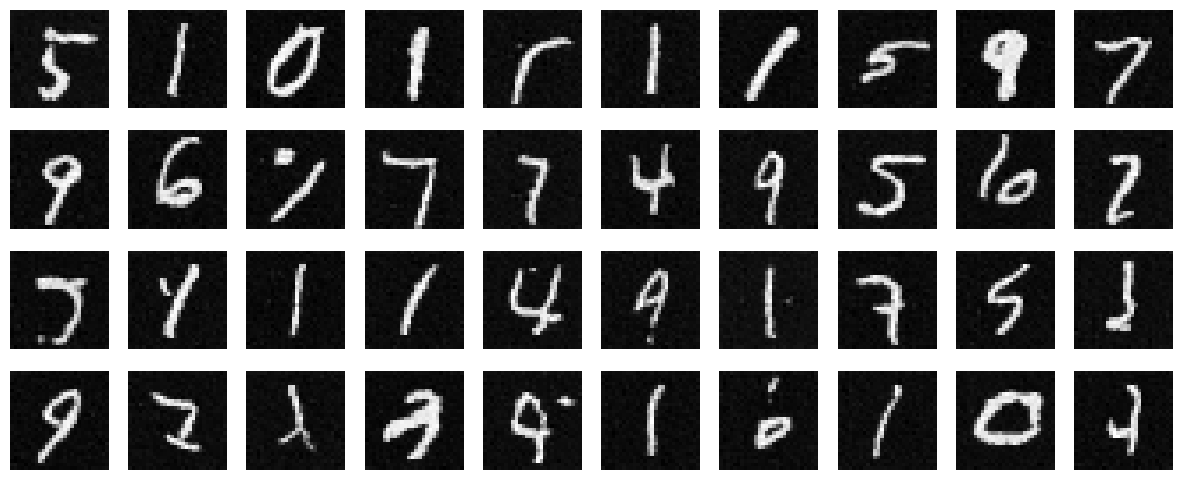
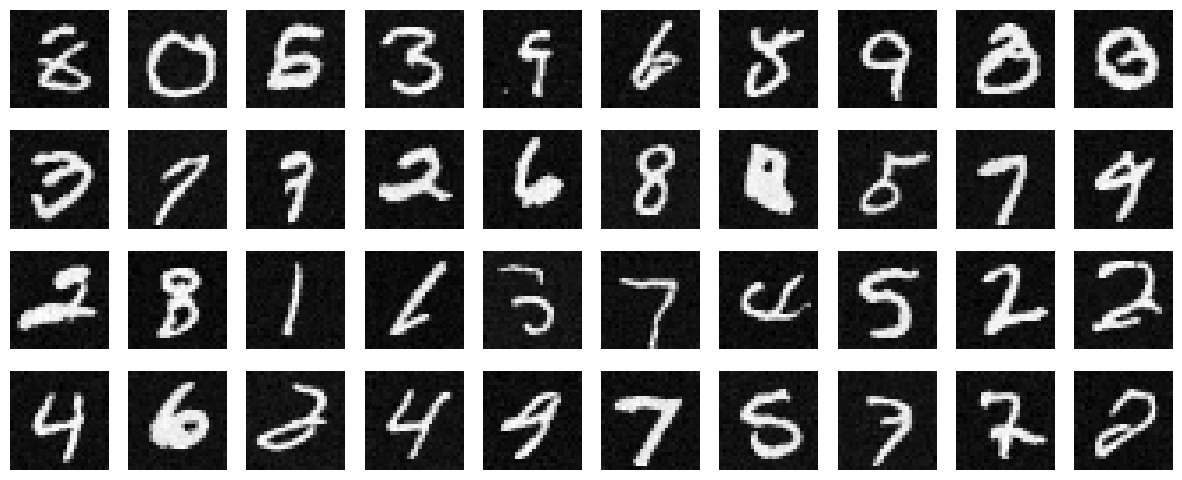
We can add Class-Conditioning to the model to further improve the quality of the generated images.
|
|
|